A neuro usability test can be used to investigate the subconscious experience of a website or app, from prototype to production. Follow the steps below to request a neuro usability test successfully!
1. Click on 'Create new test' in the menu on the left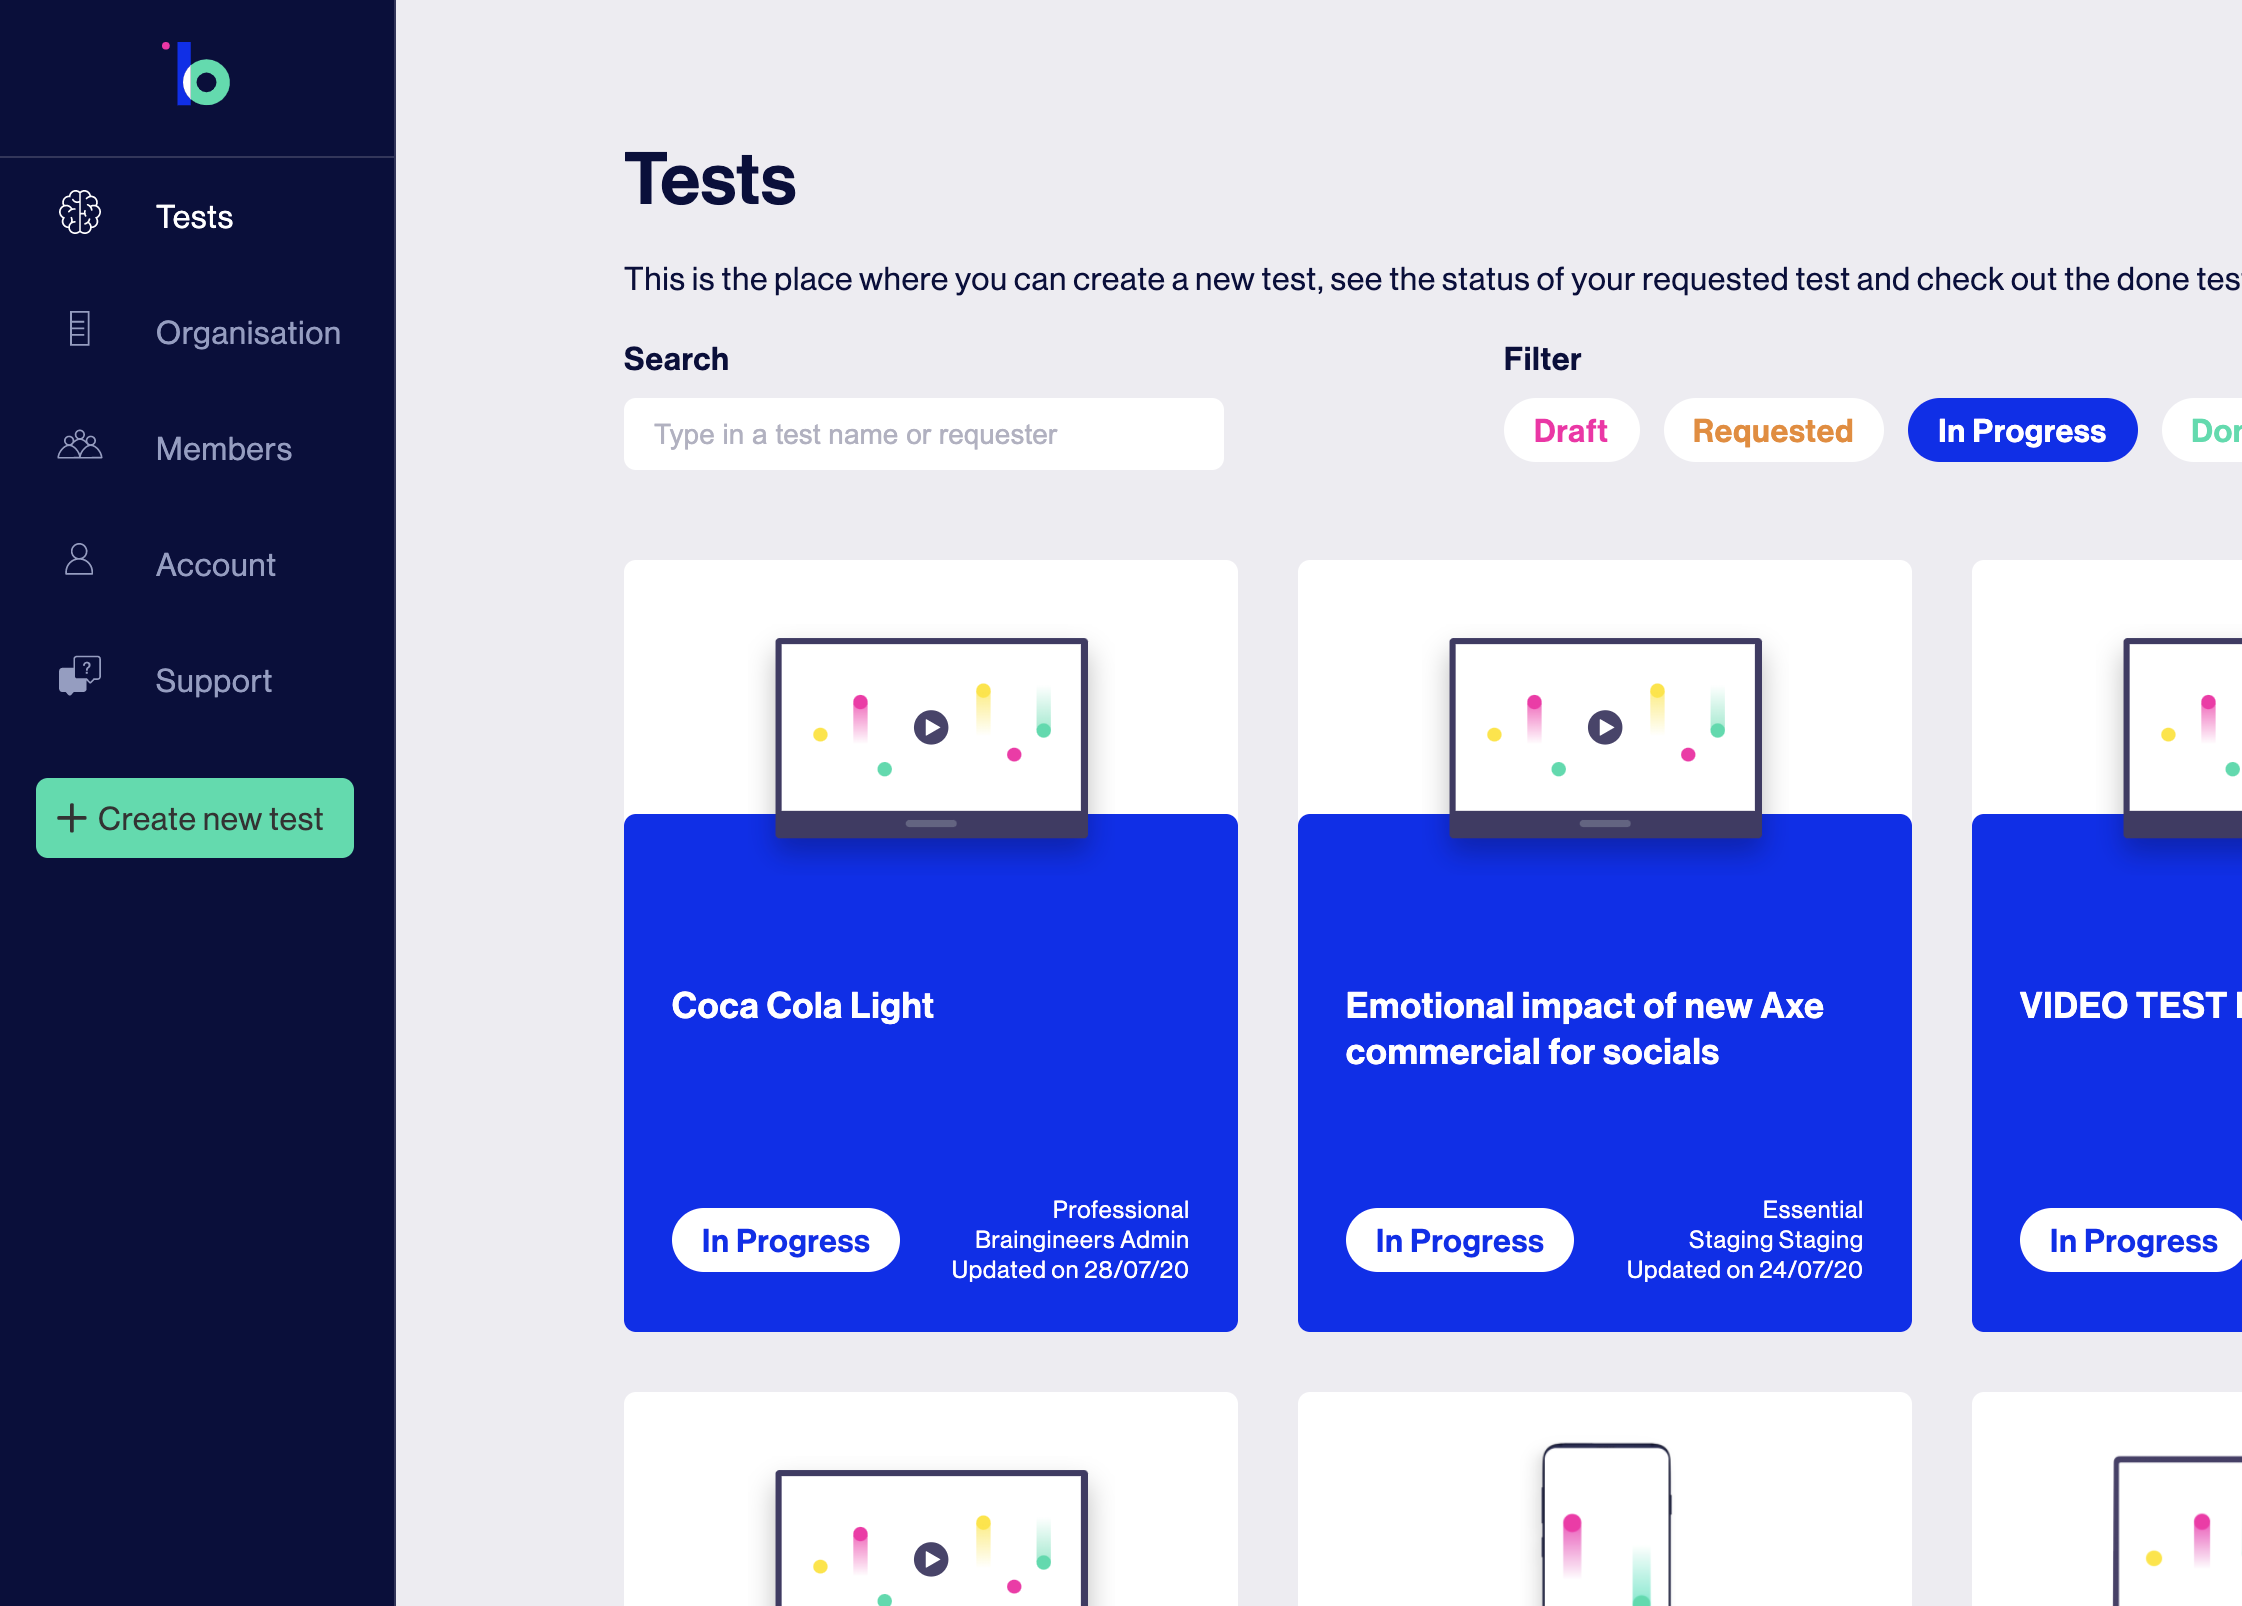
From every page, you can click on the green button in the main menu, which will lead you to the form where you can request a new test.
2. Choose Website & apps
Select the option 'Website & apps' to request a neuro usability test.
Click here to continue on setting up a video test.
3. Choose your test type: Essential or Professional
Choose between an essential and professional test. The professional test offers you full insight into your funnel. It gives you access to all Brainpeek features, including 5 consultancy insights. An essential test focusses on the most important insights of a funnel. It contains the core features of Brainpeek including 2 consultancy insights.
Want to have a more extensive overview of the differences? Click here.
4. Name your test
Give your test a name that is recognisable for you and your team. Once created, you can find this test on the 'Tests' page with this name.
5. Describe the purpose of your test
Describe why you would like to perform this test. This description will help us to support you in getting the best test setup and thus the best results. For our consultants, it is important to know:
- why would you like to set up this test?
- what do you hope to get out of this test?
- do you have any user data or insights from other tools that precede this test?
6. Define your areas of focus
The areas of focus are elements or sections within the flow that have specific interest. For example, if you have redesigned the filter module, you can define the filter module as area of focus to make sure you get insights on this element.
When performing the analysis, our consultants will deep dive on these areas of focus and compute at least one insights per area of focus.
7. Write a scenario
Write a draft scenario that will be given to the participants. This is the task that participants need to carry out on your website or app.
Scenarios that have specific requirements relevant to your research topic can greatly improve the usefulness of the results. Consider which scenario would be most effective for a travel agency testing their new search filters: 'purchase a flight' or 'purchase a flight under €400 to a warm destination with a swimming pool and access to various sight-seeing tours'?
If you're not sure what the scenario should be, no worries! Our consultants will discuss and finalise the draft scenario together with you in a call.
8. Define the start URL & stop moment
The start URL is the page where we let the participants start their test. This can be your homepage, a specific product page or another page. The key to an effective start URL is to make it as natural as possible. Think of a homepage or overview that real customers could easily find via search engines. It seems straightforward, but making sure the start URL is in line with the natural behaviour of potential customers will improve the effectiveness of your test.
The stop moment is the page/moment where the researcher will stop the test. The longer your flow the more general insights you will get out of your Brainpeek test. The shorter the flow, the more specific insights you get on your page(s) of interest.
9. Choose the device
On which device would you like to have the test executed? Choose between desktop and mobile. On a dekstop device we make use of eye tracking. Thereby, we can give insight into where your visitors are looking. What elements draw attention and are well read, and what elements are not seen at all? On a mobile device we make use of thumb tracking instead of eye tracking. Thereby, we can map the interaction of the participants with the your mobile website.
It is of course also possible to execute a test both mobile and desktop. You can can request two separate tests for this.
10. Choose (and define) your target group
For choosing a target group, we offer two options. The default target group is representative for Dutch society; it includes 10 participants with mixed age, gender and education level. This target group selection is included in the test price.
Sometimes, a more specific target group is required. In this case you can write the requirements in the box below. When a custom target group is requested, additional costs may be involved and will be discussed prior to finalising the test setup.
11. Request test!
You are ready to go! After requesting the test, a Braingineers consultant will call you within two working days to go through the research design and finalise your test setup.
Not ready yet to request the test? You can use the 'save as draft' button to save the research design. Your research design will be saved in Brainpeek and can be edited and requested later on.
Good luck and happy testing!